DIY Wedding Challenge: How To Design Your Own Monogram In Microsoft Word
You can use monograms for various projects such as save-the-dates, invitations, small favors, etc that would vary in size. When you design your monogram in Word, you can easily change its size and your monogram will stay true to its proportions. (community article)

Although there are a variety of computer programs you can use to make a monogram, I decided to figure out something on Microsoft Word because that's the program I am most familiar with.
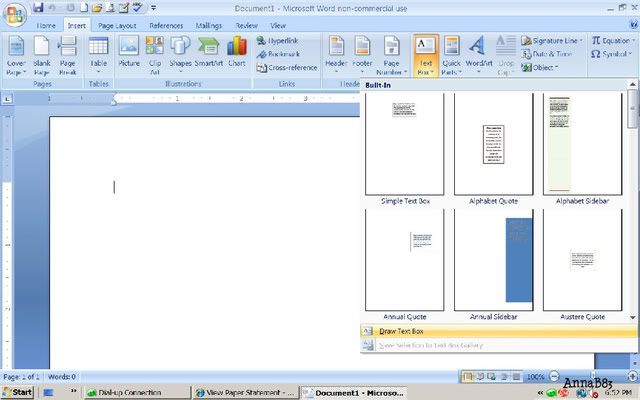
1. First, draw a big text box. This is where your new last name initial will go.
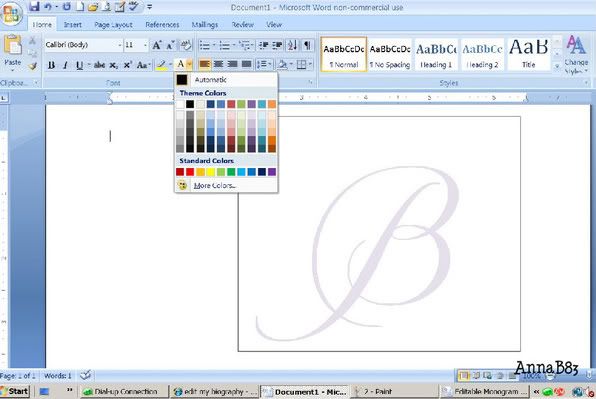
2. Insert your new last name initial and experiment with different fonts to find one you like. You'll need to increase the font size...I suggest starting somewhere in the 180 to 200 range. It is important to keep the monogram big while you're creating it to get a clean, crisp look when you change the dimensions for later projects.

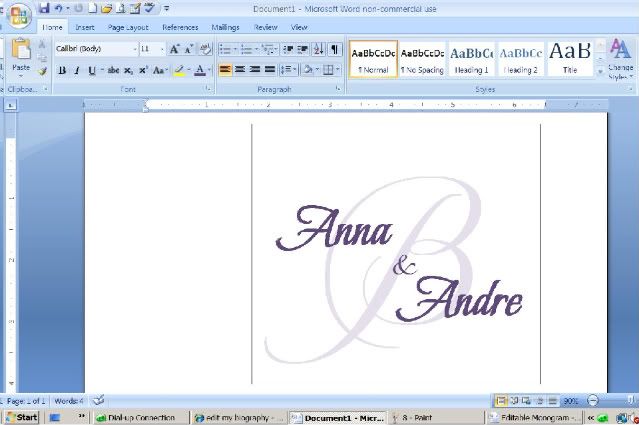
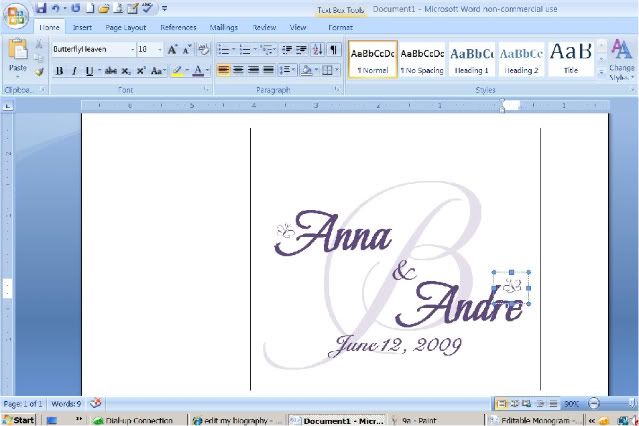
3. Next, play around with different colors. Our main color for the wedding is lilac/lavender so I tried to keep all the colors in that family. Since I plan to write our names and date on top of the initial, I choose to go with a very light color purple for the "B."
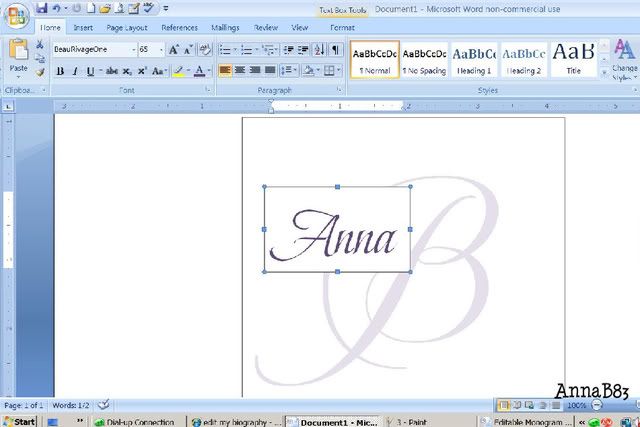
4. The next step is to insert the names. Do this by adding two more text boxes. Again, play around with different fonts and colors for each name as well as where you'd like to place them on the monogram. I went for a much darker purple because I wanted the names to stand out above anything else.
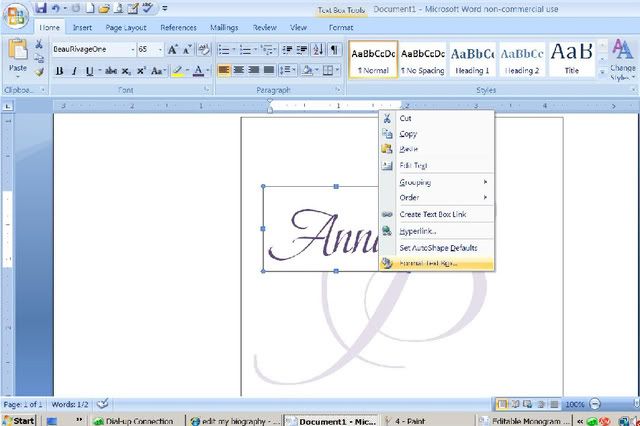
It is normal for the text box to have a line drawn around the border of the text box as well as to have all the empty space in the box filled in white. To get rid of the border around the name, simple right click on the text box and select "Format Text Box." You'll get the "Format Text Box" Pop Up.
Go to your first option (Fill) and select "No Color." This will get rid of the white background that prevents you from seeing the big initial.
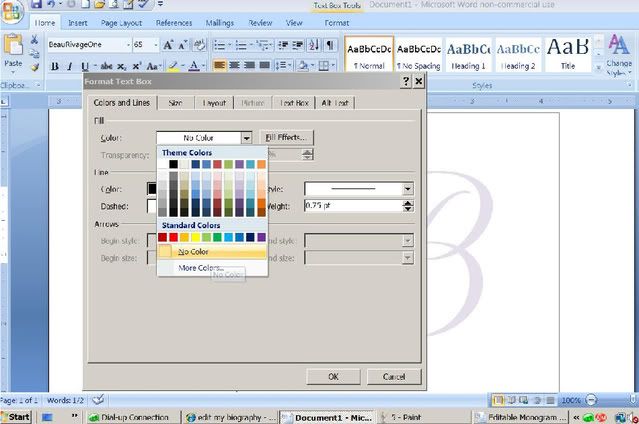
Next, go to the second option (Line) and select "No Color." This will get rid of the border around the name.
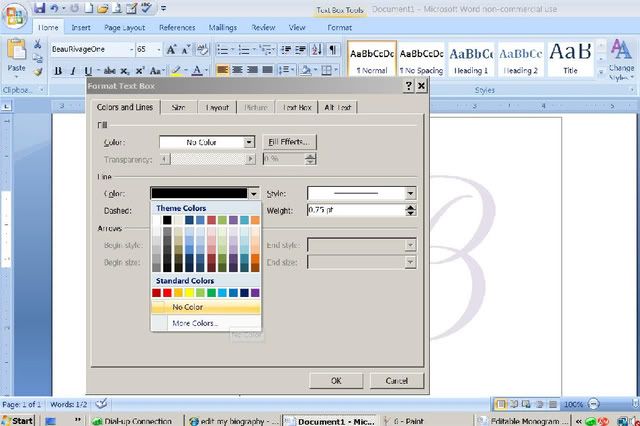
Click "Ok" and the fill and line should be gone from your name text box.

5. After inserting the first name, make a new text box and follow the steps above to create the second name. Make any little tweaks to the font and color for the names. It was at this point I decided to put the names in bold.
6. Then, you'll want to insert your "and" sign. Again, insert a text box, play around the font, color, and placement to find which one looks best. Remove the border and fill following the instructions above.
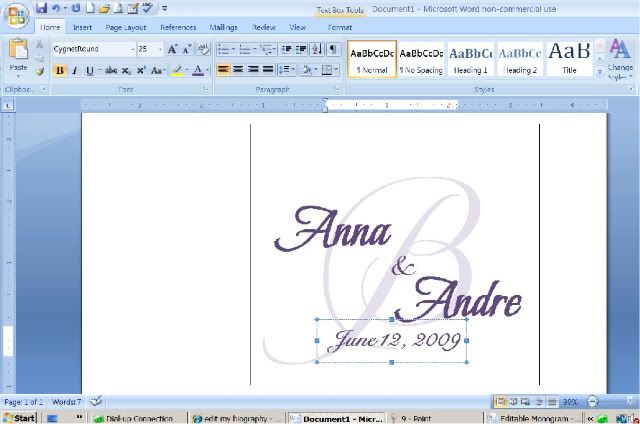
7. If you choose, you can insert your date. We chose to insert the date below the "B," but the possibilities are endless. To add the date, insert another text box, play around the font, color, and placement to find which one looks best. Remove the border and fill following the instructions above.
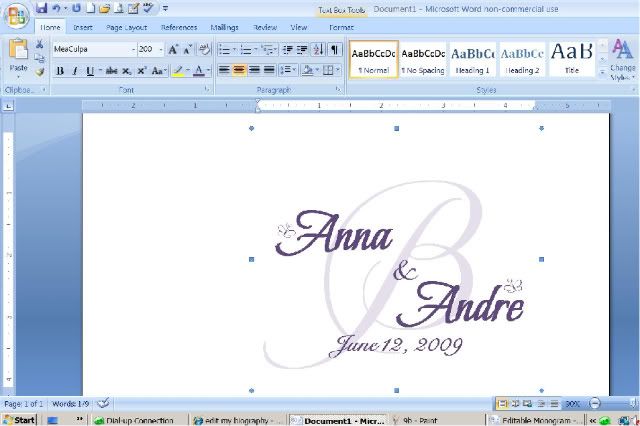
8. Add any more details you'd like to the monogram. We decided to add butterflies because we have a very subtle butterfly theme for the wedding. I was able to get the butterfly through a font (Butterfly Heaven; letters "B" and "b") I had previously downloaded. Simply insert another text box, select your font, select your color, remove the border, remove the fill, and play around with the placement of where you'd like to place your detail(s).
9. I decided I wanted a chocolate brown border around the whole monogram, but didn't like the placement of the original border of the first text box (around the "B"). All you do is remove the border around the giant initial you began with following the directions above through the "Format Text Box" option.
10. Then, simply draw another text box in the height and width you like that will encompass all the details of your monogram by holding down your mouse button. When you release the mouse button, it'll look like your monogram has disappeared, but it's still there. Simply right click, select the "Format Text Box" option and select the "No Color" for the "Fill" option.
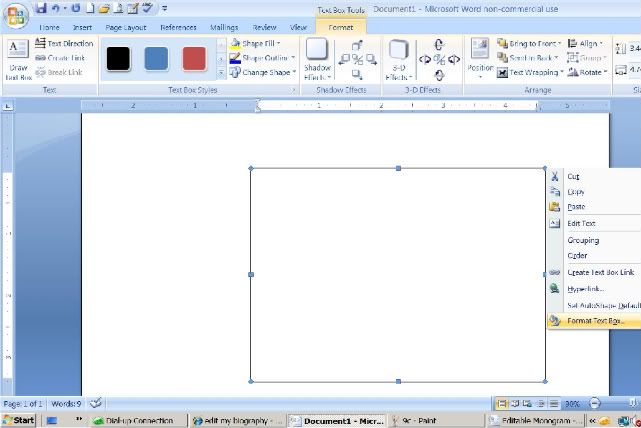
10. If you don't want a border, select "No Color" for the "Line" option from the "Format Text Box" options. However, if you'd like a border, you can change the border's color in the "Line" option. Simply select whichever color you'd like for the border to be and click "Ok" to select your options. You can also make your border thicker by choosing a higher number under the "Weight" option.

Now you have your monogram. It's in an editable format and I suggest saving it in this way in case you'll need to make little tweeks later.
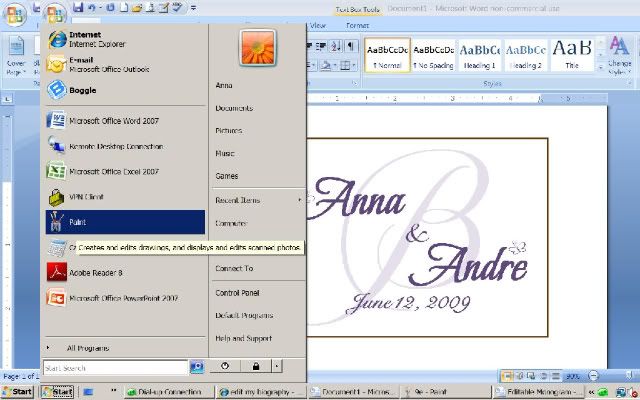
1. Now that you have your monogram, take a screenshot (on my computer it's "Control" and "Print Screen" held at the same time). Essentially, you've just taken a picture of what's on your screen sp make sure that all of your monogram is in full view.
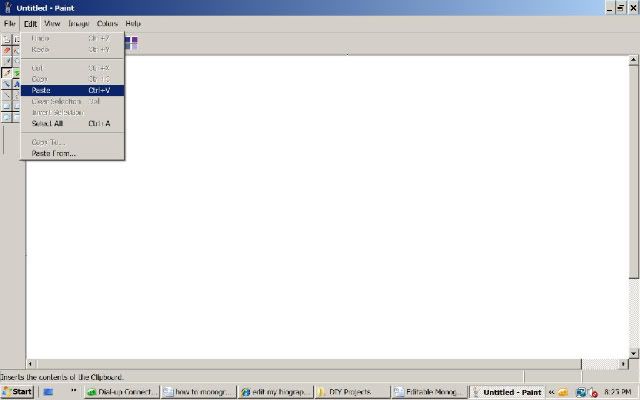
2. Next open up the Paintbrush program from your computer start up menu. It's a program that comes with most computers.
3. Select the "Paste" option from the "Edit" menu. Now you should see your monogram and the rest of the "Word" screen copied onto the white area.
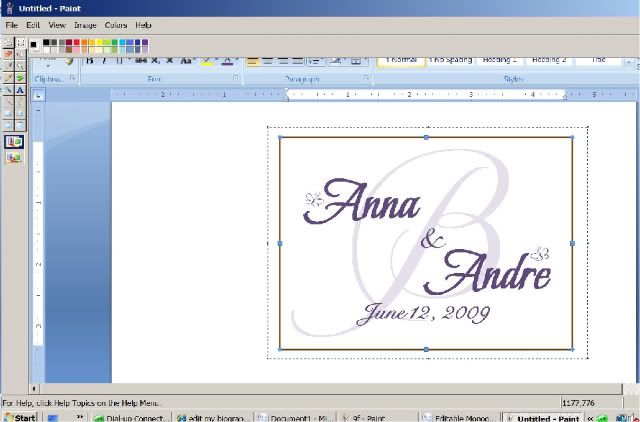
4. Select the rectangular "Select" button from the menu. It looks like a box with dashed lines. Now draw your rectangle around your monogram.
5. Copy your mongram by right clicking and select "Copy" from the menu.
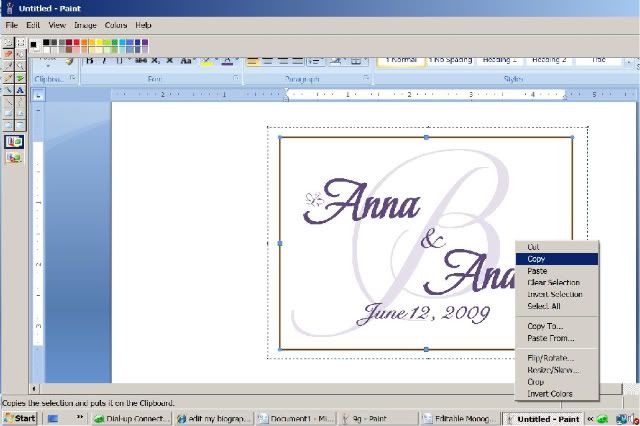
6. Go back to Word and paste what you just copied. Now you have a copy of your monogram. You can easily change its size in Word without losing its proportions by clicking on a corner of the monogram and moving it while holding down the mouse button.

